Adirondack Chair II
This week I took Wednesday off work to work on the chair. My deadline is September 17th so it can go in the art auction. (I figure, "If a painting of an adirondack chair is art, why not a painted adirondack chair?")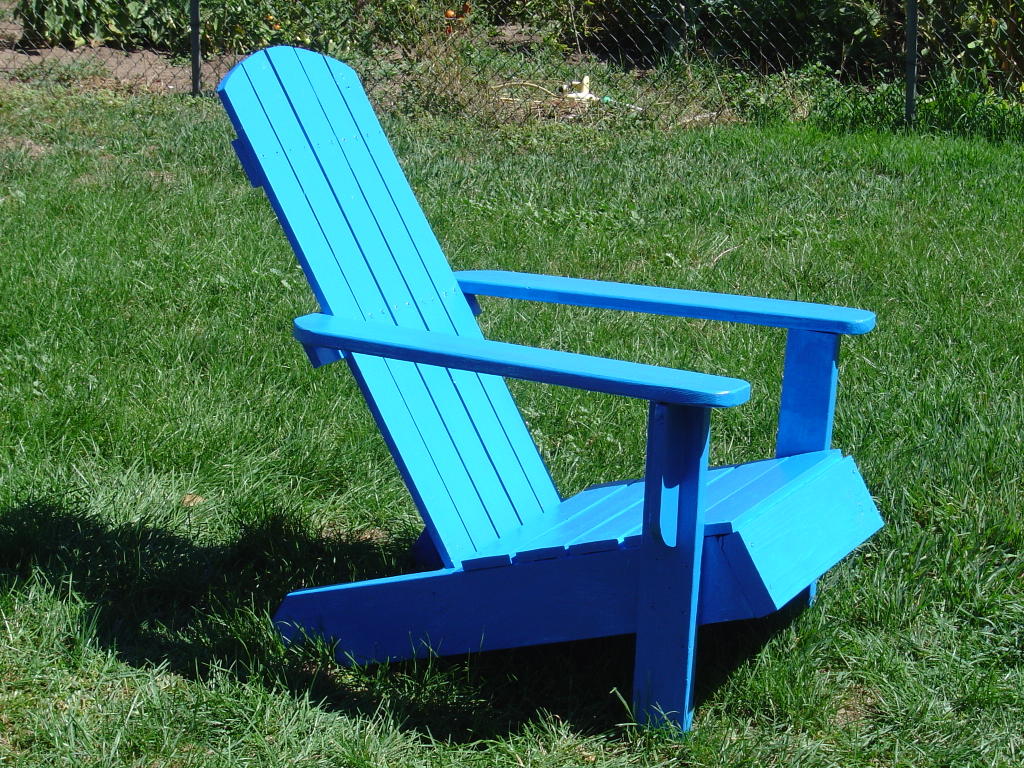
At the start of the day, I had the back in one piece, the core of the chair together, and the legs tacked on. By the end of the day I'd:
- Attached each leg with 5 counter-sunk screws
- Shaped the arms with a sander to take the corners off
- Sanded the arm supports down so each side was smooth
- Attached the back at a 105 degree angle to the seat with three counter-sunk screws on each side
- Determined the inside angle of the back to the arms was 55 degrees.
- Trimmed the middle brace on the back and cut the arm supports to the correct angle.
- Glued the arms supports to the front legs using the dowels.
- Attached the arms to the front legs and the brace.
- Attached the remaining seat slats.
- Tested the chair for comfort... Pass!
- Primed the chair using an indoor/outdoor water-based primer.


Saturday morning I turned the chair over and got the rest. I discovered an answer to a problem I was having:
Q. How do you paint the cracks between the slats?
A. You notice the problem is you can't get the brush in there and use a smaller brush.
In this case, I used a brush for painting on canvas out of a cheapie set I got a while back. It's nice to finally have paint on one of those handles!
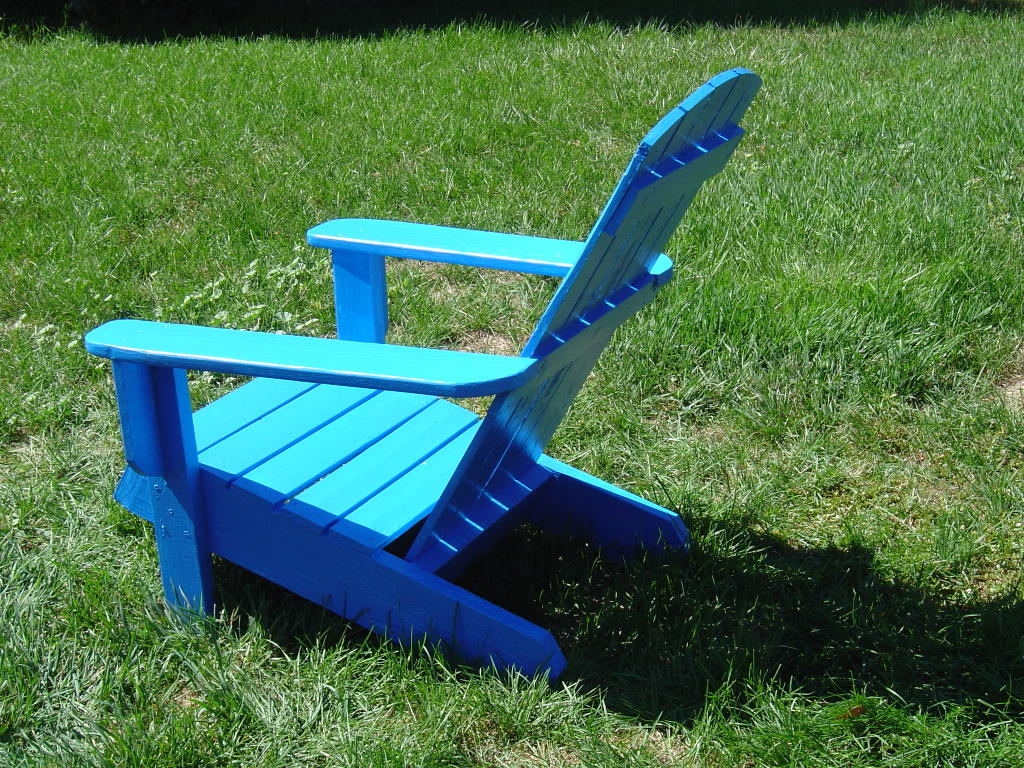
And finally, I dragged the chair into the sun and applied a final coat on all the wear surfaces: seat, arms, and back.

posted by Anne @ 2:01 PM
![]()

0 Comments:
Post a Comment
Subscribe to Post Comments [Atom]
<< Home